Shoppable
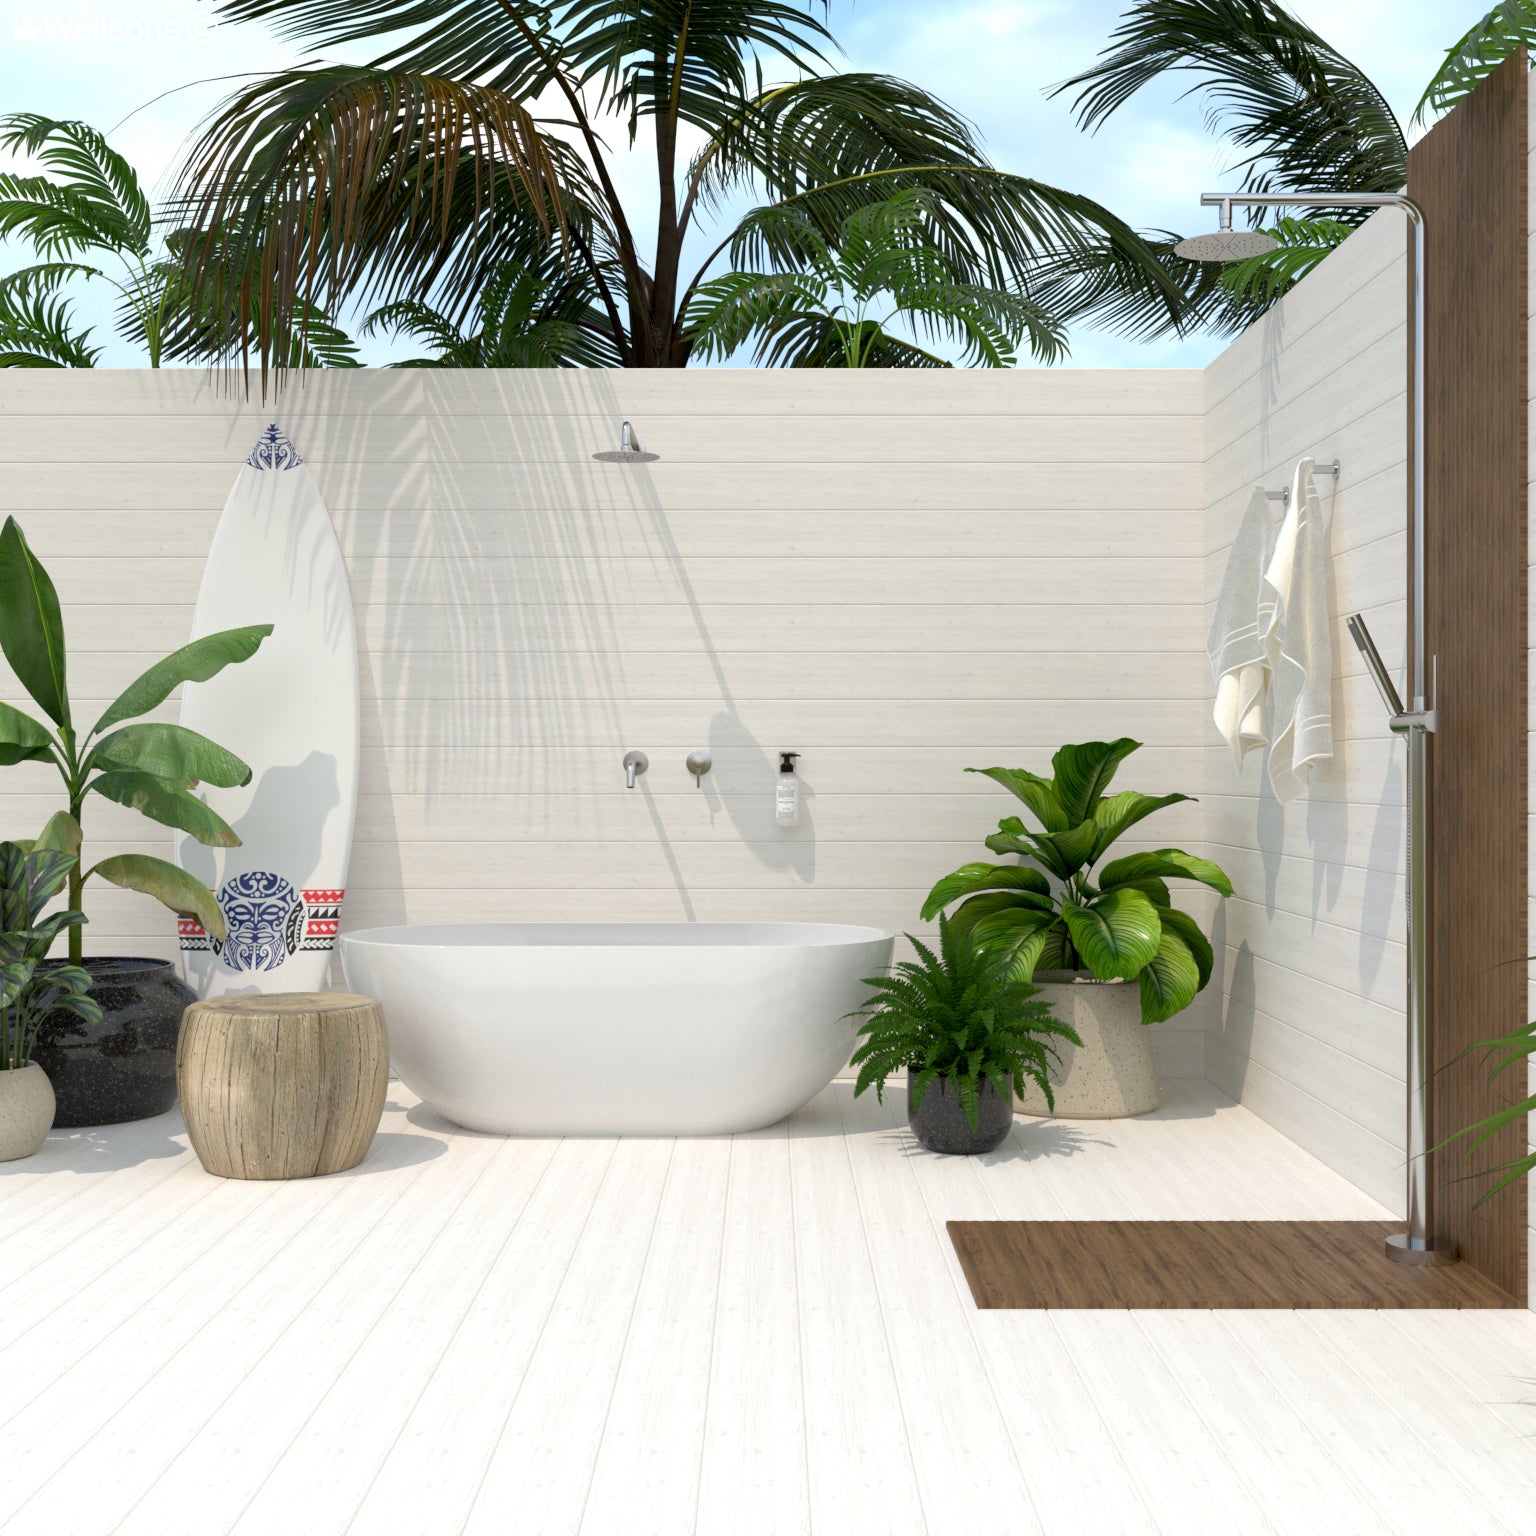
No Products in the Cart

The Wellsons team is regularly asked for advice on the best ways to install a new bathroom vanity, so we figured, why not create the ultimate online how-to guide!
The following blog is required reading if you’re planning to install a vanity cabinet yourself.
You’ll find a simple step-by-step guide, tips and tricks, as well as some of our favourite bathroom vanities.
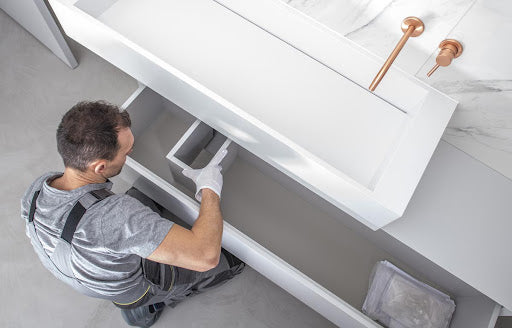
Installing a new bathroom vanity can be a big project, but it can also be a rewarding one!
With the right tools, preparation, and handy know-how, you can have your dream bathroom in no time.
Let’s get started!
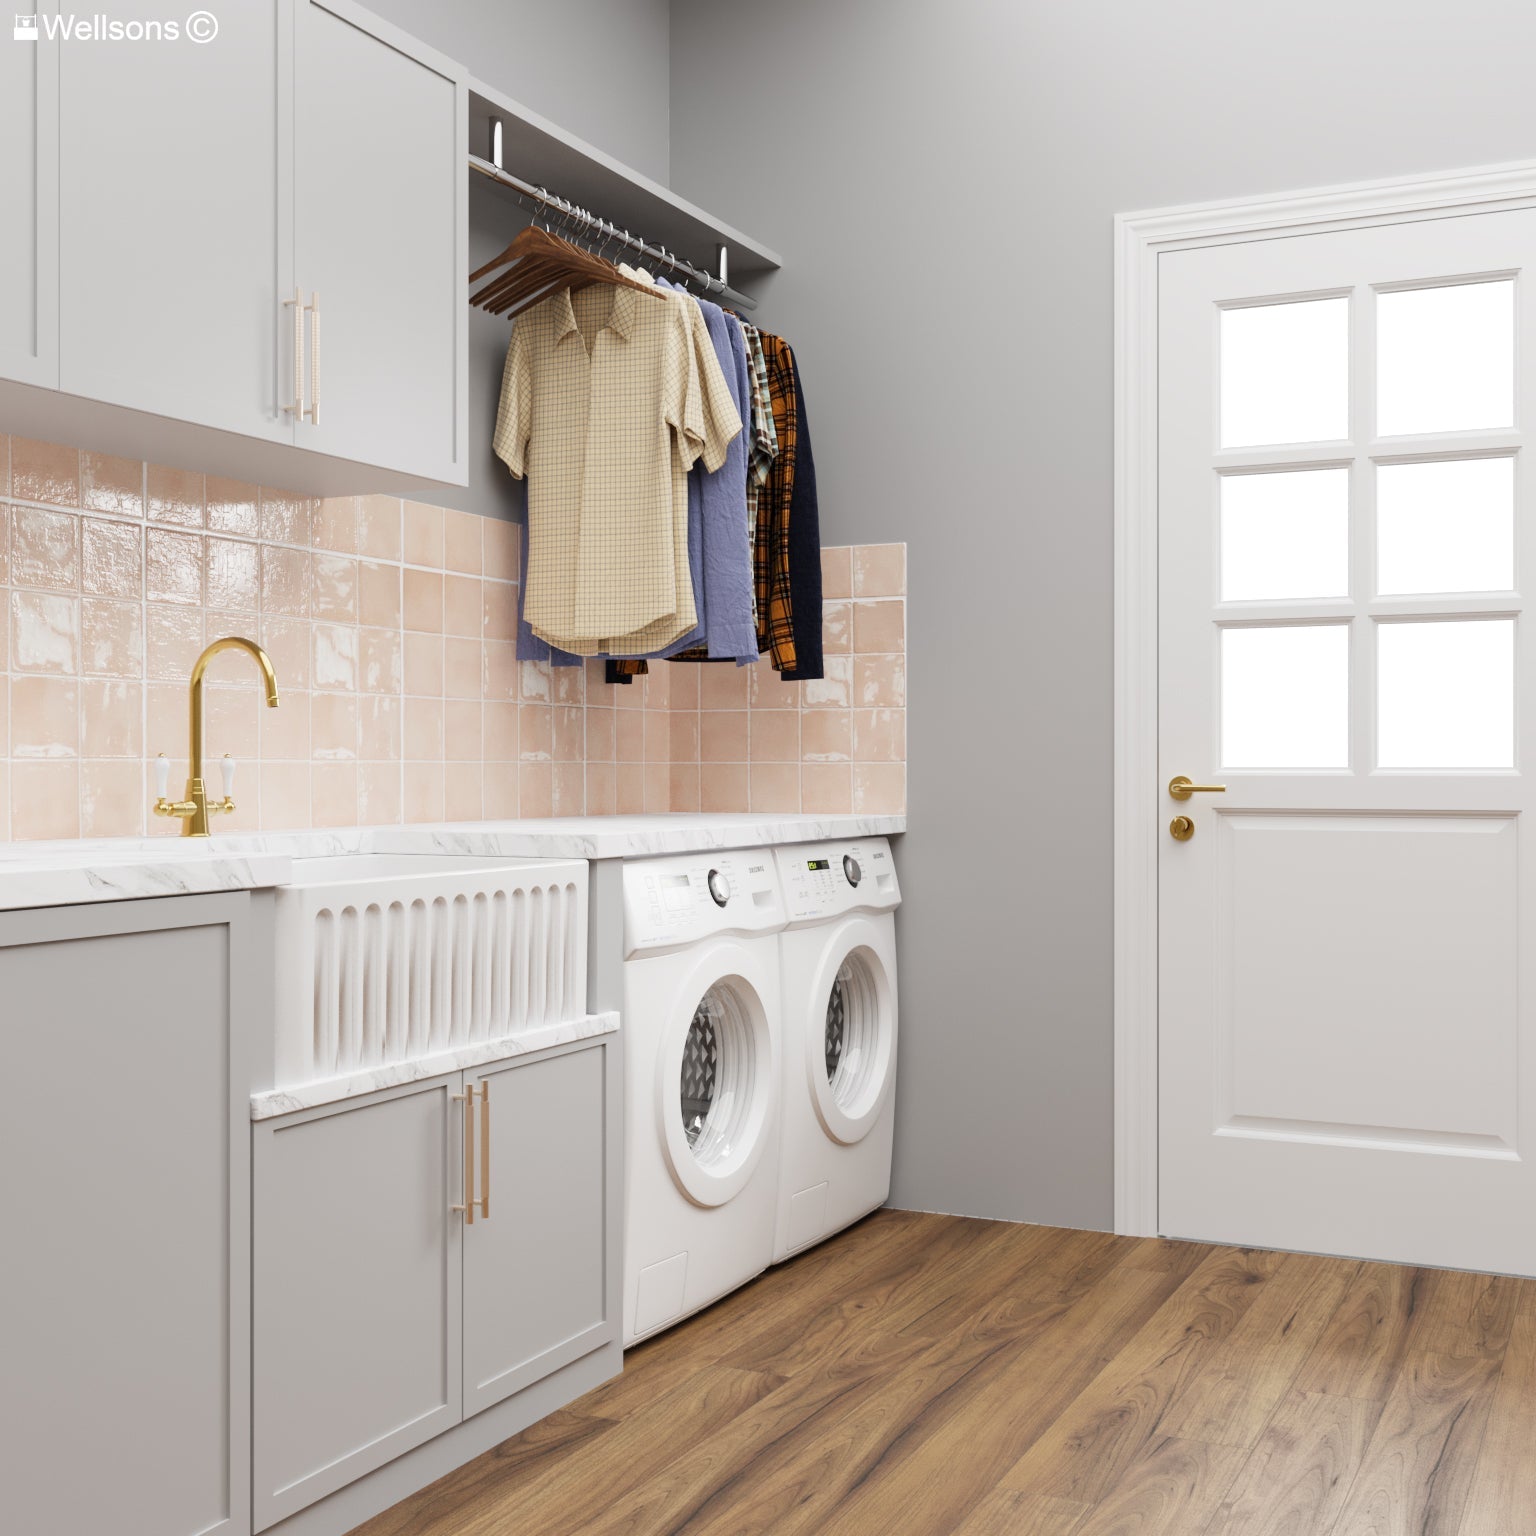
A bathroom vanity is a type of cabinet that is used to store items like towels, toiletries and cleaning supplies. It usually has a single or double sink on top with a countertop and storage below.
Typically, the countertop is made up of natural stone, quartz, granite or ceramic. Vanity cabinets can come in many different styles, including traditional, modern, coastal and farmhouse.
These styles can be customised to match your bathroom's existing decor. Additionally, vanities can be designed with extra shelving or drawers for additional storage space.
They may also include built-in taps and plumbing, lighting fixtures, such as spotlights around the mirror for added convenience and ambience.
Bathroom vanity units provide both practicality and style, allowing you to store your essentials while also giving the bathroom a chic look that will enhance your interior design.
To install a bathroom vanity/cabinet, you will need the following:
Just a friendly reminder: always follow the manufacturer's instructions and local building codes when installing your new bathroom vanity cabinet.
If you need any help or have questions, don't hesitate to reach out to us at Wellsons. We're here to help make the process as easy and stress-free as possible!
At Wellsons, we’re proud to offer a stunning selection of bathroom vanities to choose from, including hundreds of bestselling pieces.
Whether you're looking for something traditional or modern, sleek or classic, we have the option to match your style and space.
We’re pleased to partner with ADP Vanities, because they offer unrivalled quality and an enduring commitment to style.

Our vanities come in a variety of materials, finishes and types, so you can find the perfect combination for your bathroom.
Compact Vanities are mini cabinets that are perfect for smaller bathrooms, while still delivering all the quality of a larger unit.

The ADP Glacier Mini Wall Hung Vanity With Cast Marble Top - Lite is the perfect choice if you’re looking for a stylish, Australian-made sink that offers outstanding value for money,
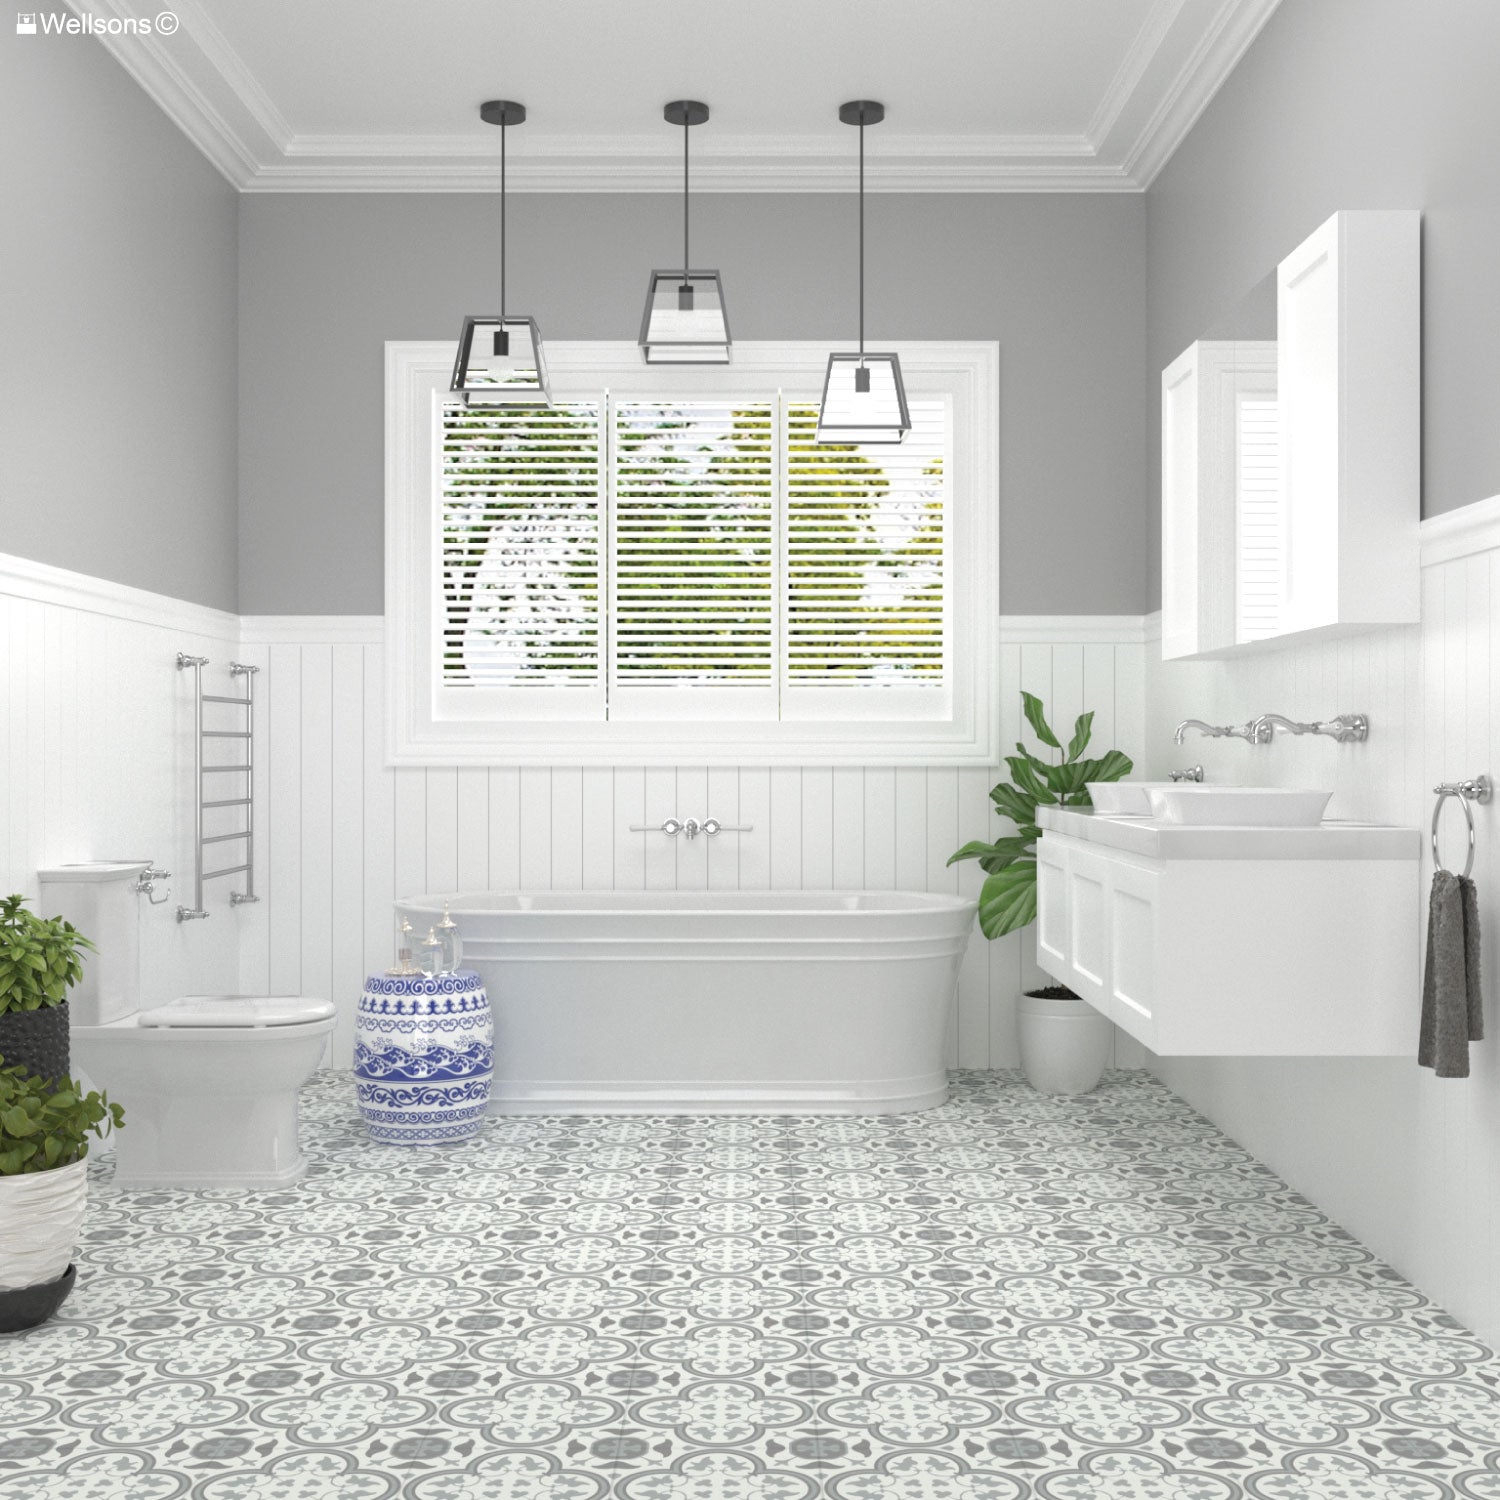
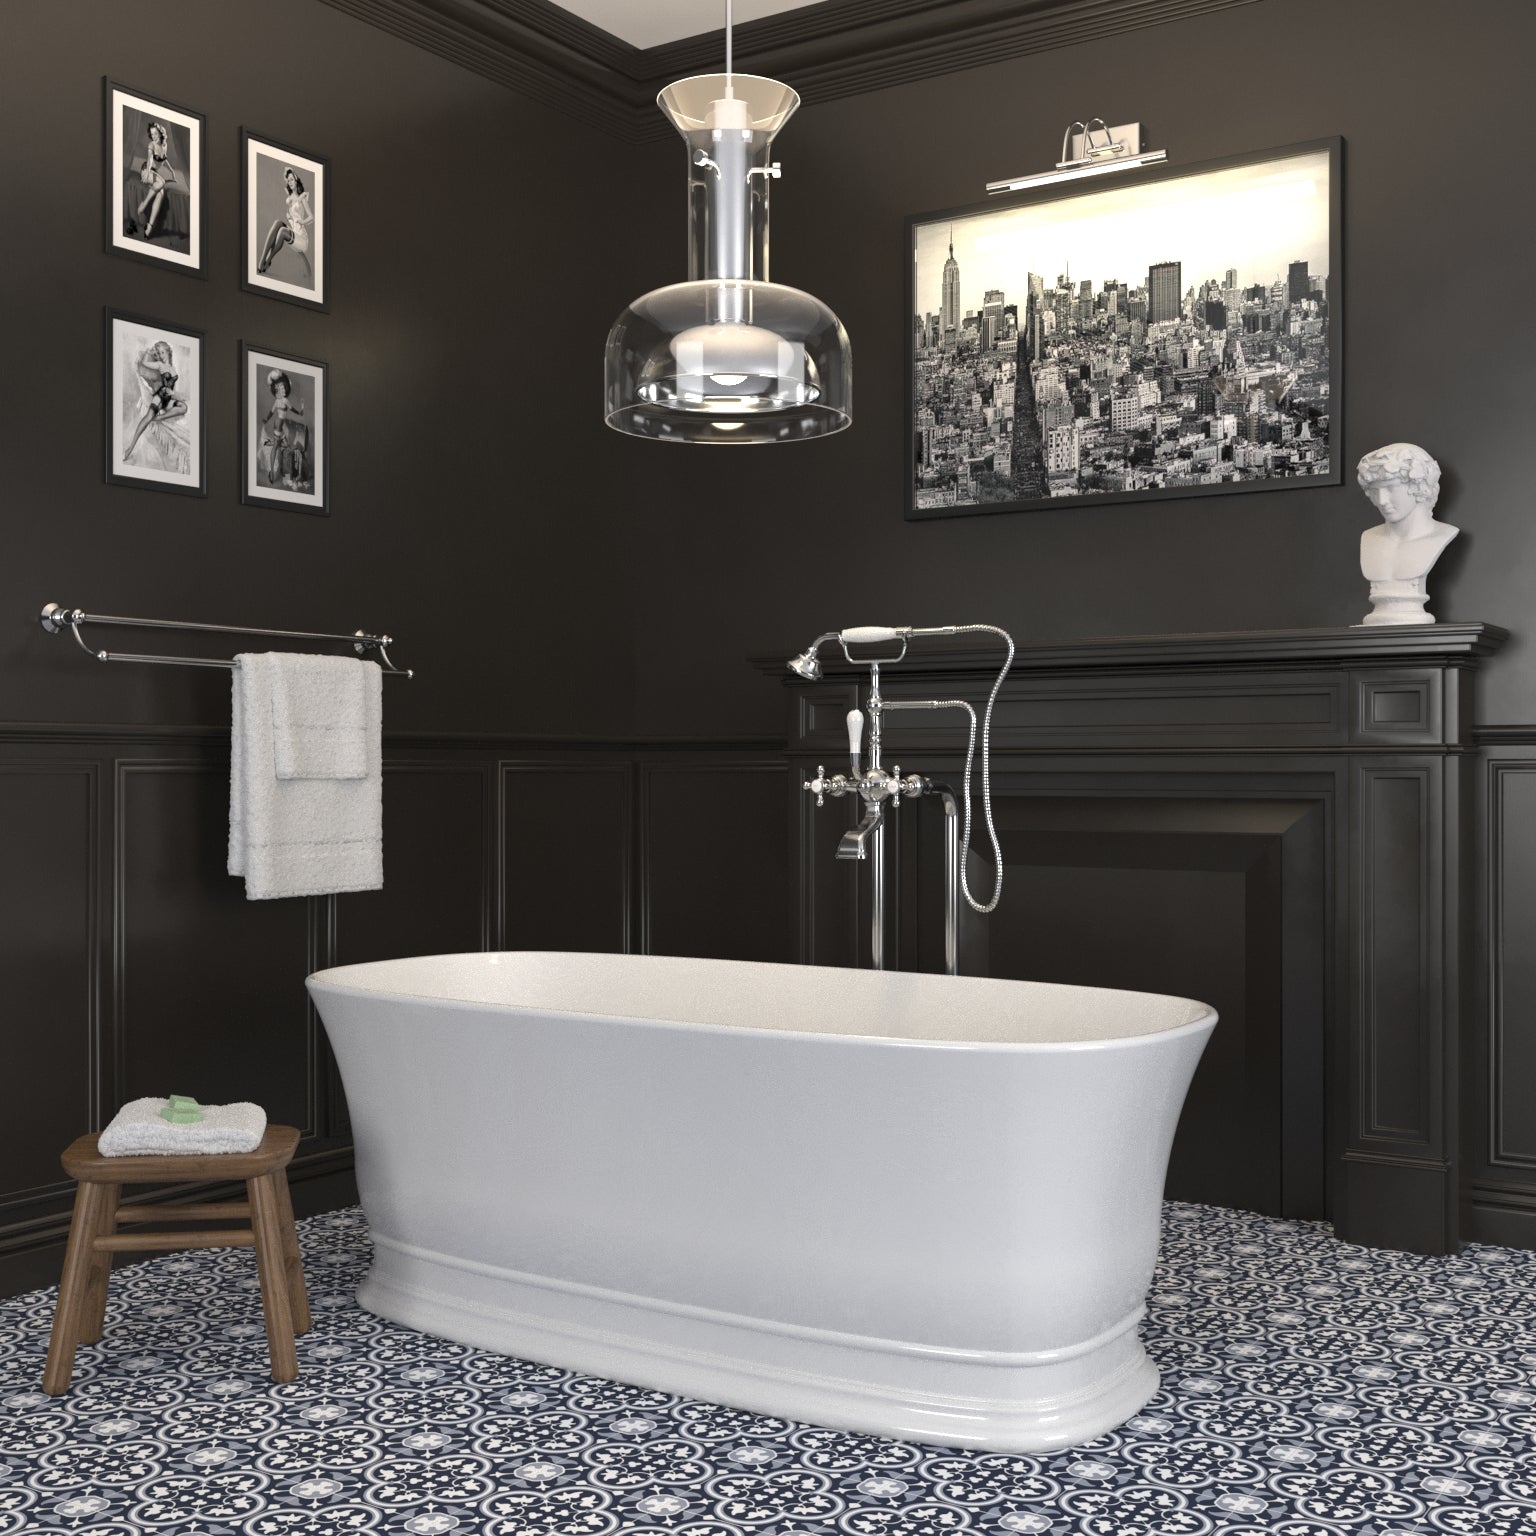
Floor Standing Vanities stand solidly on your bathroom floor as well as delivering great storage options.
The ADP Glacier Ensuite Door And Drawer Trio Vanity With Ceramic Top - Lite features a ceramic vanity top with integrated basins plus overflow.
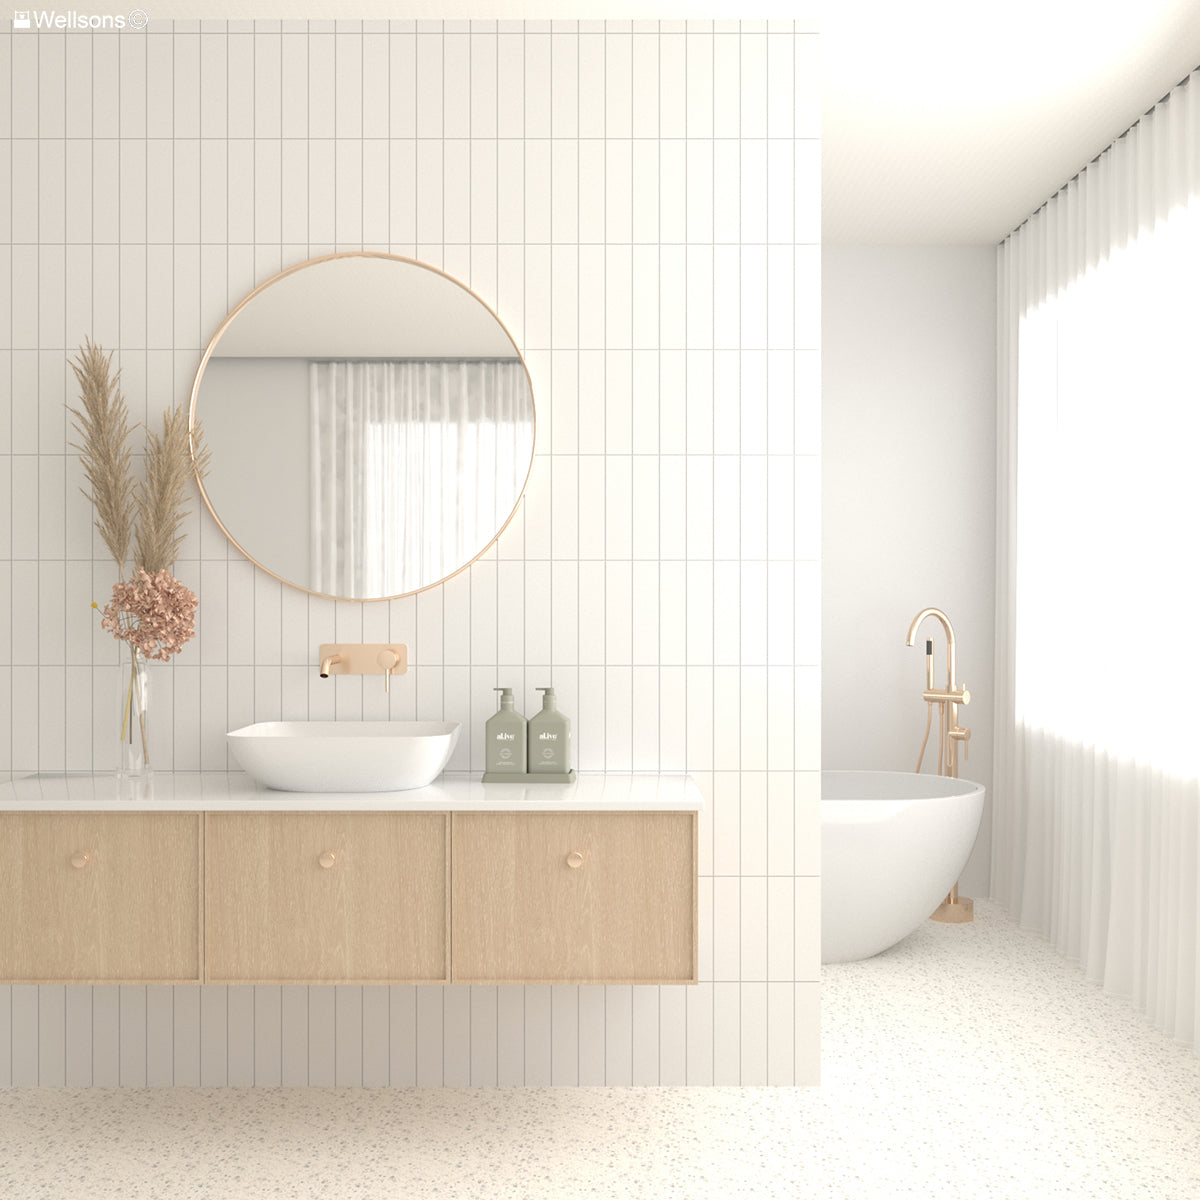
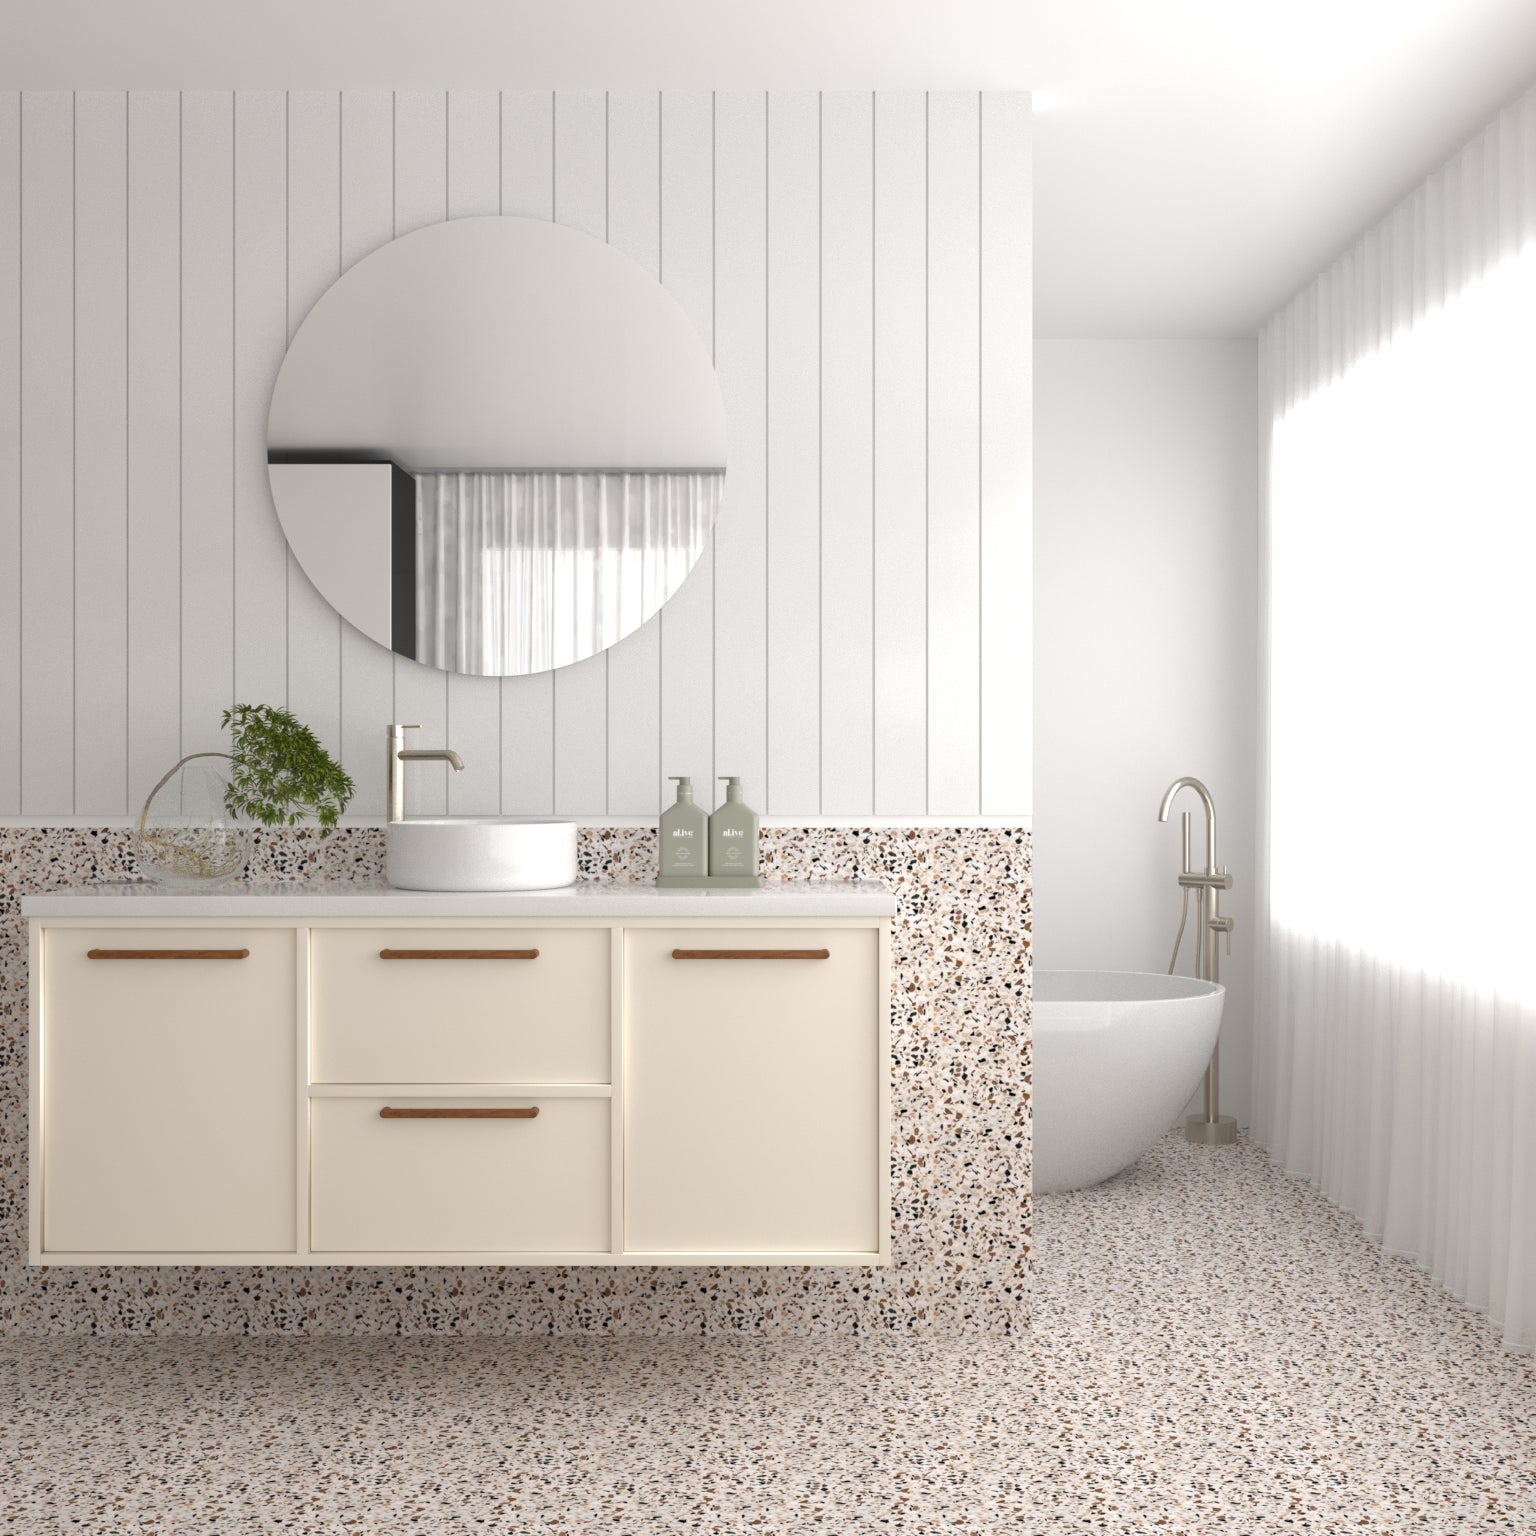
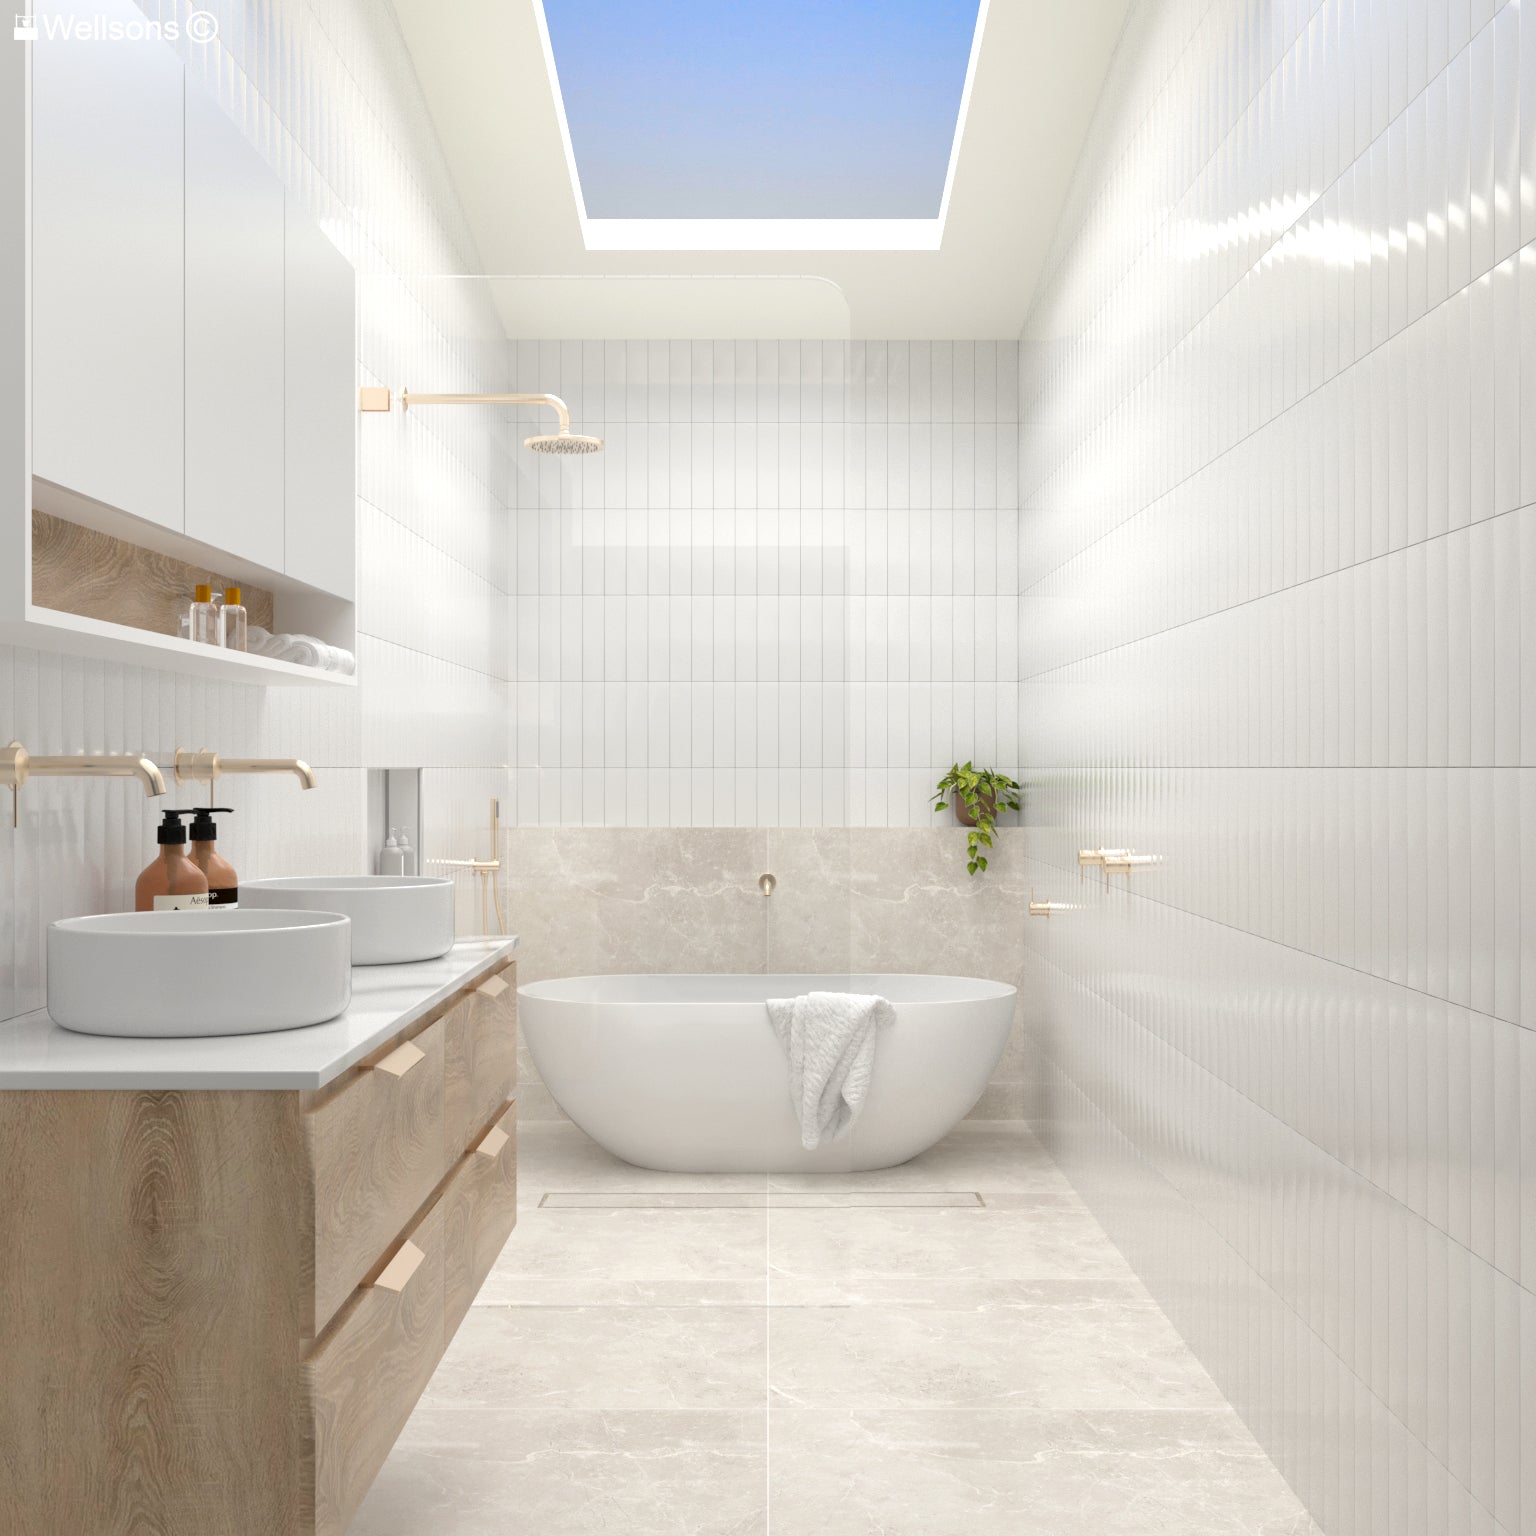
Wall Hung Vanities are mounted on the wall, rather than standing on the floor, meaning they free up floor space and make the bathroom more spacious and easy to clean.
ADP Glacier All Door Slim Vanity With Cast Marble Top - Lite is a compact and stylish solution for modern bathrooms, featuring a sleek design with a cast marble top and storage options.
To learn more, check out our guide titled 5 Things To Check When Buying Bathroom Vanities Online.
Now, there’s no need to be afraid to tackle the installation of your new bathroom vanity!
By taking the time to properly prepare and plan, having the right tools at hand and understanding the steps needed, anyone can successfully tackle this project in no time.
And with the ultimate Wellsons how-to guide, you have all the information you need to make sure your new bathroom vanity is perfectly installed, every step of the way.
Before you go, check out these Trust Pilot Reviews to hear the stories of happy customers.
So why wait? Roll up your sleeves and have some fun with this DIY project!

Annette Powell, an expert blogger in bathroom design and DIYs, provides the latest coverage of style trends and offers user-friendly guides in her blog posts. Explore her articles for valuable insights.